Some good progress since the last post.
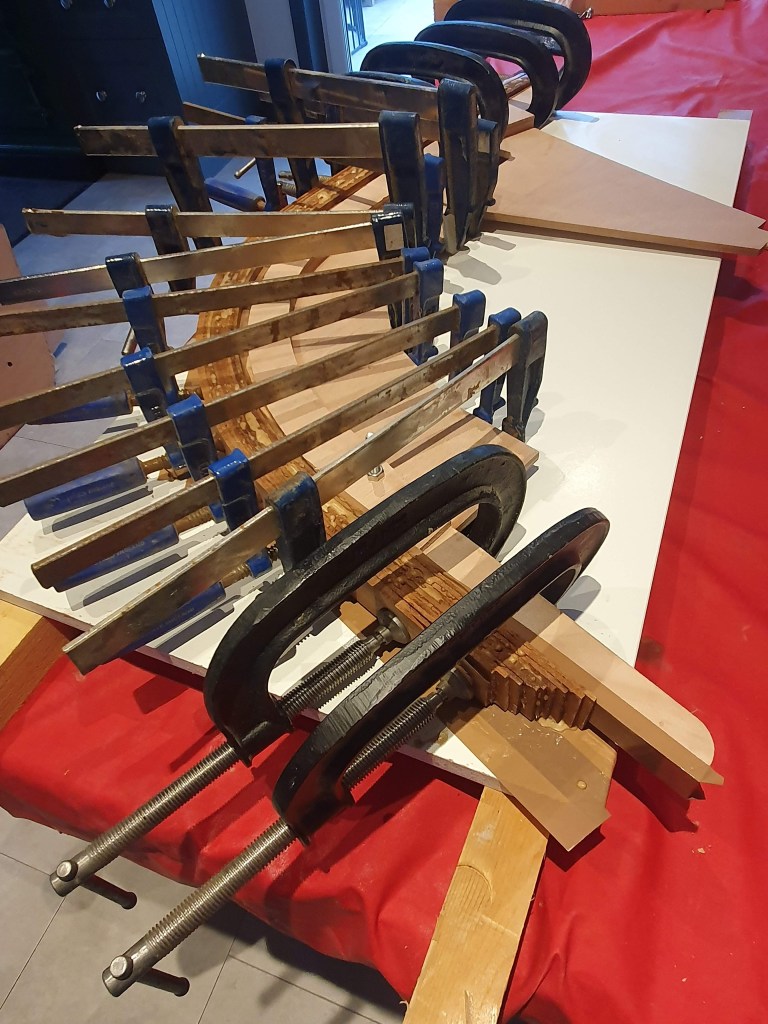
I glued up the stem and transom from the layers of plywood, fairly straightforward and I made the decision to glue these assemblies using Titebond III glue rather than epoxy resin. Several other boat builders had recommended this glue due to the ease of its use and simple clean up afterwards. I reasoned that the large close fitting wood surfaces to be jointed would suit this glue and the edges would end up being sealed with epoxy resin.
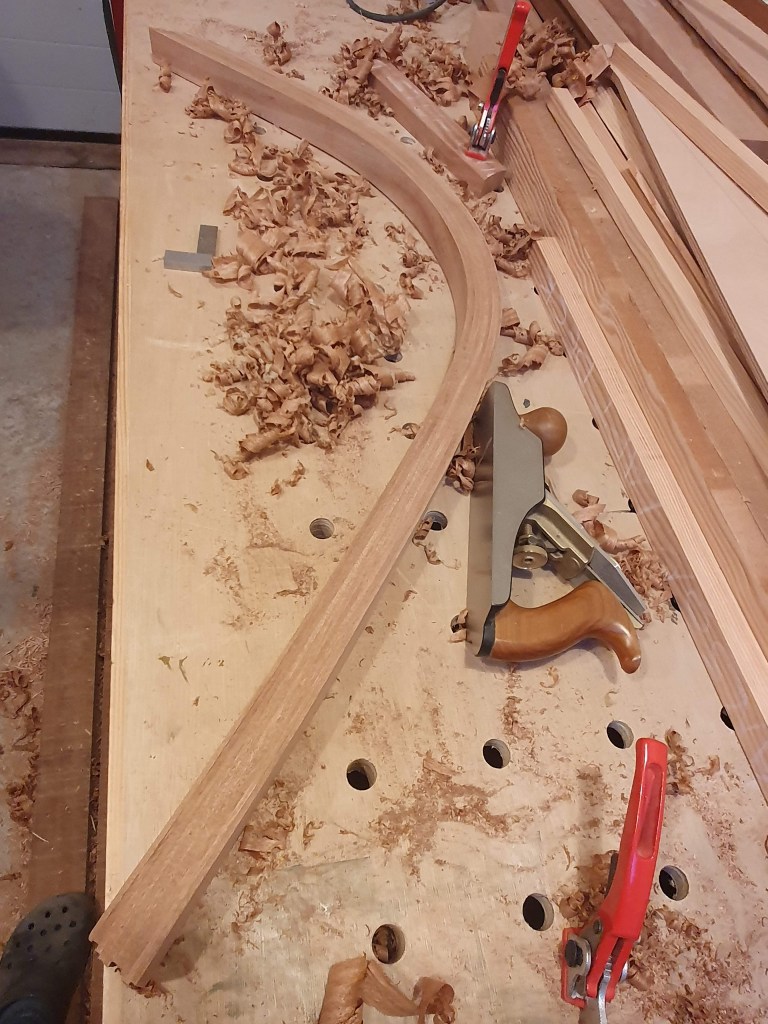
I then glued up the laminated false stem from 3mm thick laminations of sapele timber. I used the plywood stem as a mould and mounted this temporarily on plywood for ease of aligning and clamping the laminations. It went well, this was the first time I had used this technique to make a shaped piece of wood and I was pleased with the result. The use of the Titebond III glue resulted in a small unobtrusive glue line which was very satisfying.
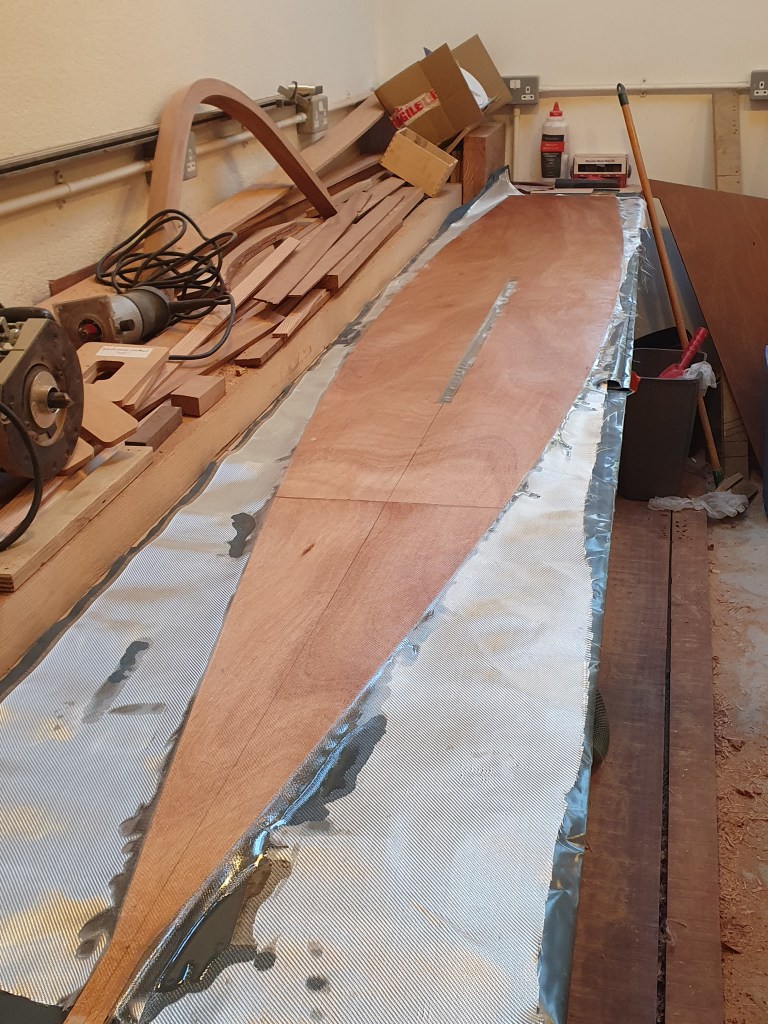
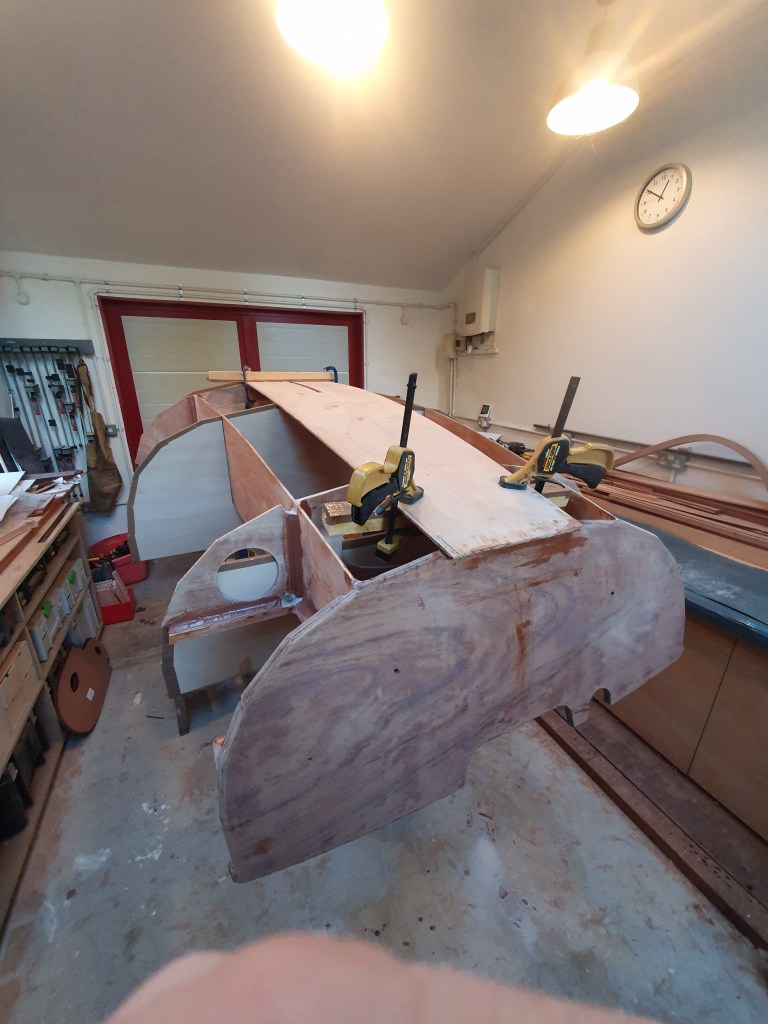
I successfully scarf jointed the sole and applied the fibreglass on upper side for ease and as recommended in the construction notes
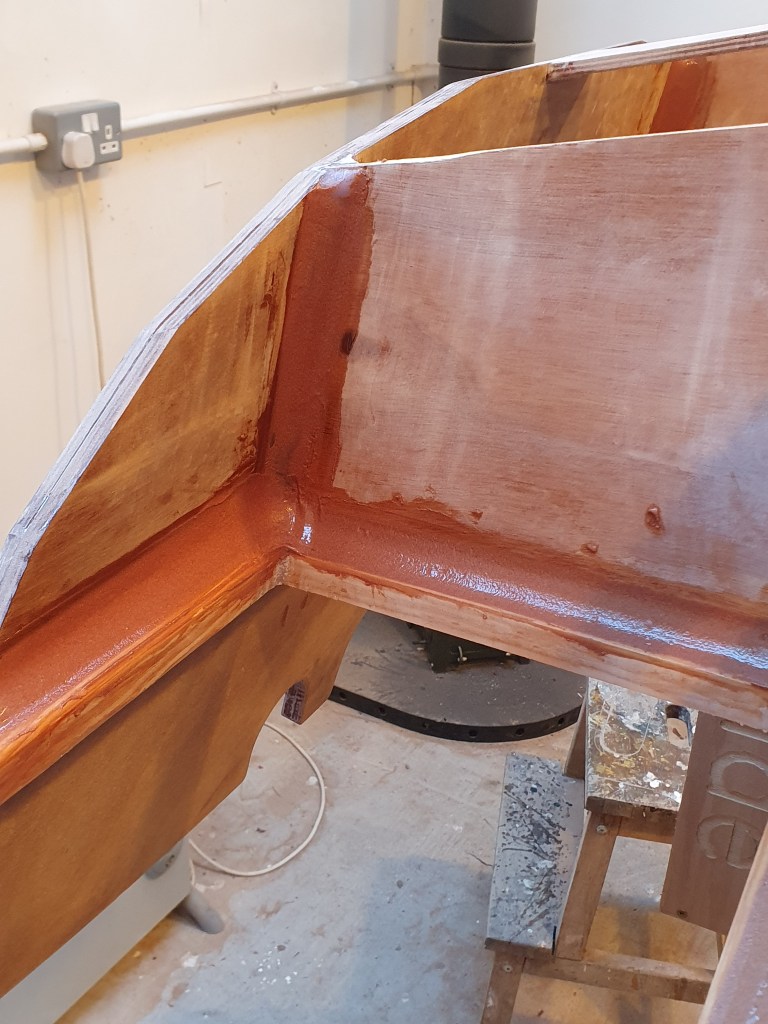
The transom was glued onto the longitudinal bulkheads using structural fillets. The “building sheets” recommend fillets 3-4 times the thickness of the plywood to be jointed, these seem large but this matches the guidance from West Systems.
In the construction notes Francois comments “
Do not overuse the fillet joints, particularly in visible areas if you want to maintain the
“wooden” character of the boat. They are not always discreet in varnished finish. Painted “rounded” corners will give the impression that your boat is made of plastic."
I definitely don’t want to give the impression that this is a plastic boat so I will be careful where I use fillets!
I thought it would be best to add the side blocks for the mast stem at this stage as it would be easier to clamp and shape them. I also added extra battens along the top of the central plywood stem as I may fit a cleat on the front deck and the battens will act as doublers to fix into.

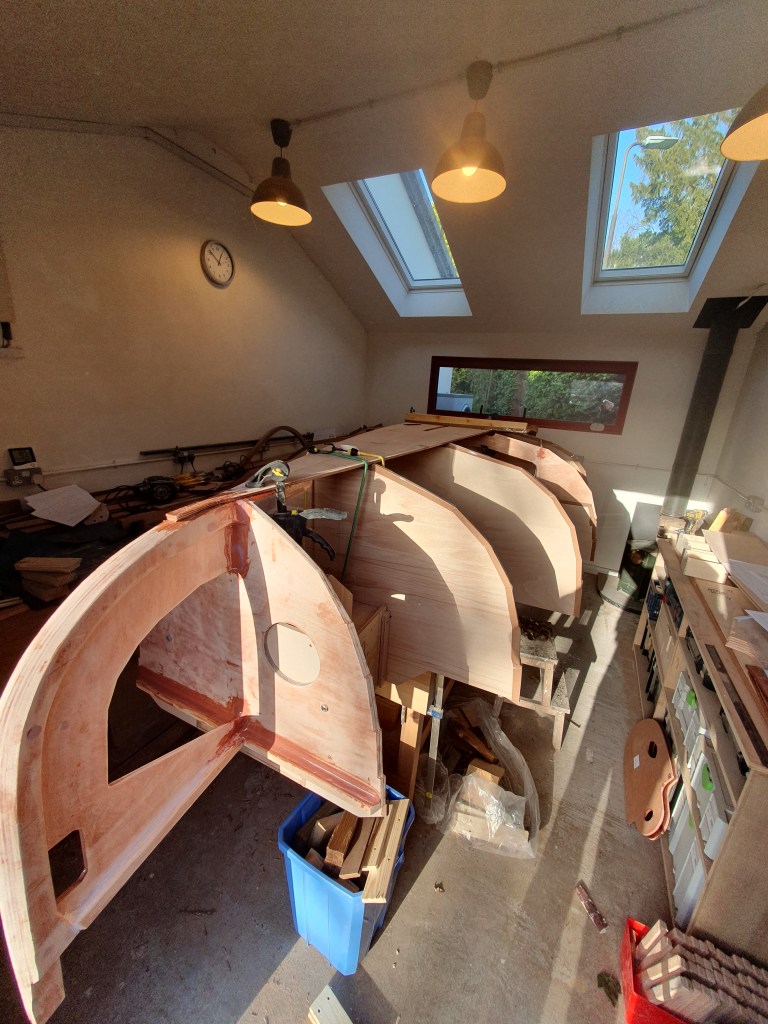
The sole was fitted after checking the alignment of the frames and bulkheads. It was fairly straightforward and I used a few temporary screws to clamp it down.
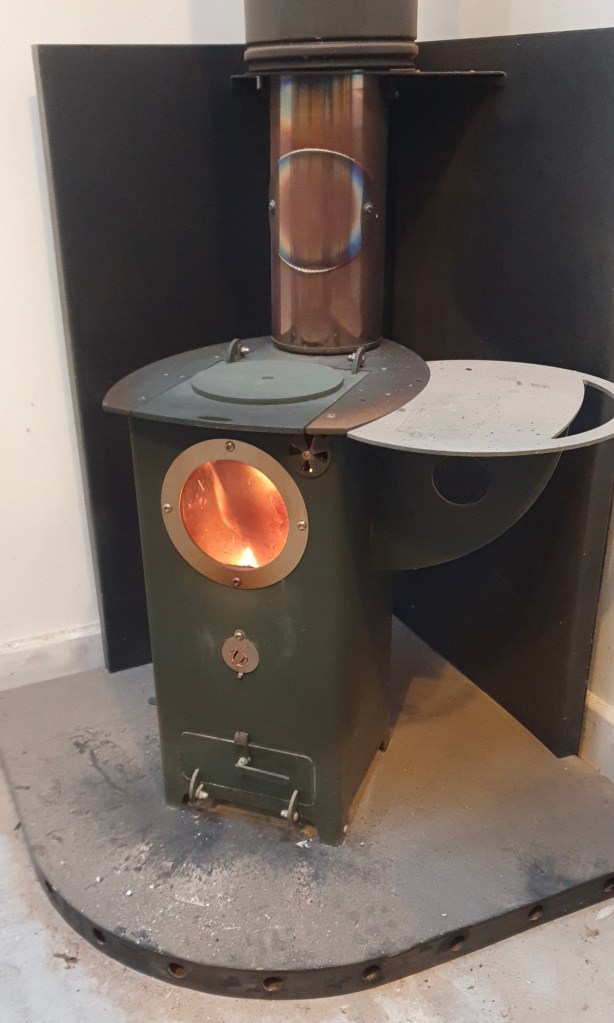
Thank goodness for the little stove in the workshop, to help the resin set of course!